How to Measure Out-of-Plumb Shower Walls for Custom Glass Shower Doors

Last updated: November 12, 2026
Out-of-plumb shower walls change the width of the shower opening, and a custom glass door has to be measured around that tilt, not just at one height.
Quick answer: measure the opening at three heights, check the wall runout, and record the wall angle before you order glass.
The steps below show what to measure, what numbers matter, and where a tape measure alone will fool you. How to Measure Out-of-Plumb Walls for Custom Glass Shower Doors is the job here, and it starts with three widths, not one.
Key Takeaways
- A crooked wall can change the shower opening enough that one width number is not enough.
- Measure at the top, middle, and bottom of the opening, then compare those three figures.
- Use a spirit level or laser level to find plumb, and a wall clamp or straight edge if the wall face is hard to read.
- Tapered glass panel cuts depend on the wall angle, not just the door width.
- If the three-point measurements disagree, the fabricator needs the full set, not your “best guess.”
Measure the shower opening in three places, not one
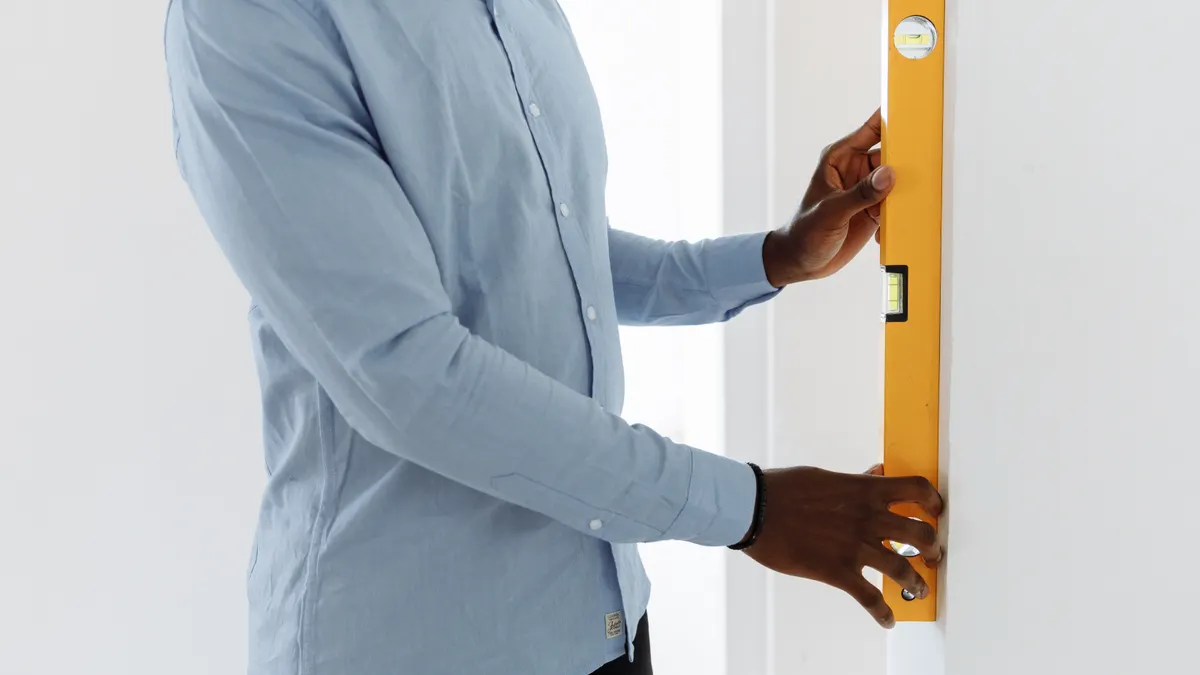
Because the opening can change from top to bottom, measure it at three points—top, middle, and bottom—so the glass shop can see the wall variance, not a single flattering number.
Start with a clean opening and a tape pulled tight from finished wall to finished wall. Record the width near the header line, again at mid-height, and again near the threshold or curb line. If the opening is square, those numbers will be close. If the walls lean, you’ll see the spread right away.
Take each width to the nearest 1/16 inch if your tape allows it. That level of detail is normal for custom glass work, and it keeps the fabricator from guessing.
Use this order:
- Measure the top width across the opening.
- Measure the middle width at the same plane as the future panel.
- Measure the bottom width at the threshold or curb.
- Write each number down immediately.
- Mark which wall is pulling in or bowing out.
If the top and bottom differ, the opening may need a panel with a taper or a scribe edge. If the middle is the outlier, the wall may be bowed instead of simply out of plumb.
How do you check if a shower wall is out of plumb?
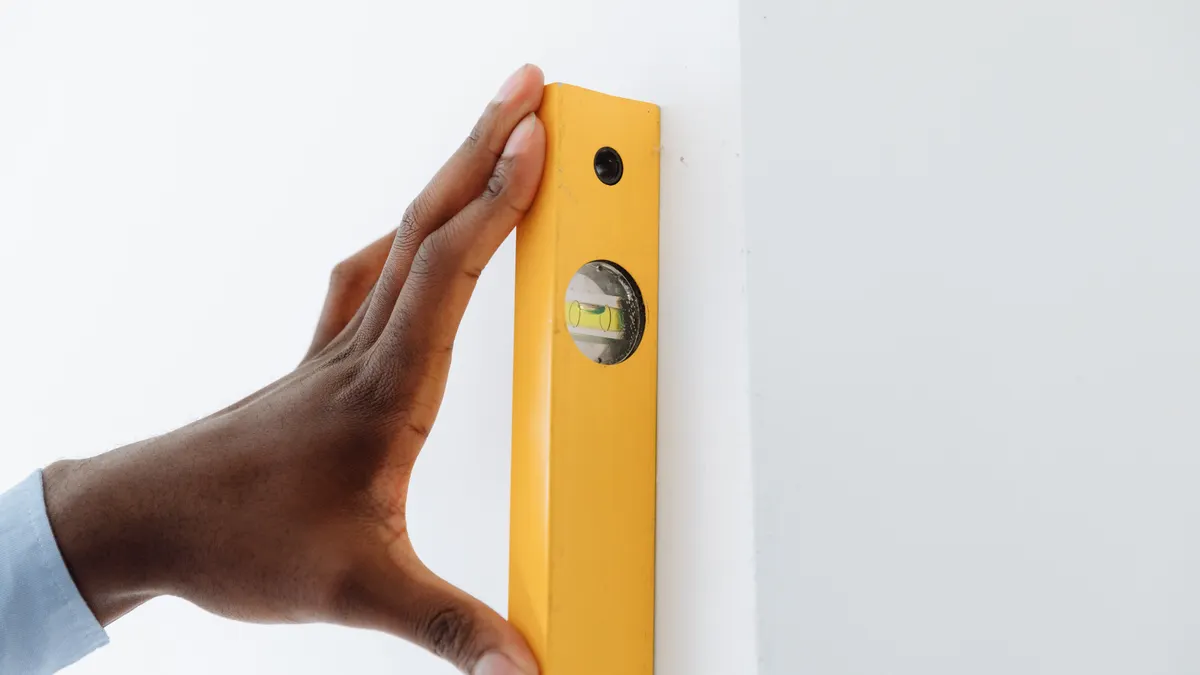
You check it by holding a spirit level, a torpedo level, or a laser level against the wall and reading how far the face leans from true vertical. The level tells you whether the wall is plumb; the tape tells you how that lean changes the opening.
A spirit level works well on a straight wall edge. Place it vertically on the finished surface and note the bubble. If the wall is short or the surface is busy with tile joints, a torpedo level can help in tighter spots, though a longer level gives a cleaner read over a bigger area. A laser level is best when you want to see the wall line across the full opening.
Here’s the catch: a wall can read plumb in one spot and drift in another. That is why a 3-point horizontal span matters. You are not just checking one line. You are checking wall runout from top to bottom.
Use this quick check:
- Hold the level at the hinge wall.
- Move it to the strike wall.
- Check both walls near the front edge and near the back wall.
- Compare the bubble or laser line at each height.
If the wall leans, note the direction and whether the lean is consistent. A steady lean is easier to handle than a wall that changes angle halfway up. Glass can be cut for a taper.
How to calculate the wall angle before ordering custom glass
You calculate the wall angle by comparing the width change over the shower height, then turning that change into a taper the fabricator can cut. That gives the shop the shape of the opening, not just the width of the door.
You do not need to turn this into an engineering exam. You do need the total height of the glass area, the top width, and the bottom width. If the difference between top and bottom is small, the panel may need only a minor scribe or clearance adjustment. If the difference is obvious, the glass will need a true taper.
A simple shop-ready way to describe it:
- Height of glass area: from threshold to top of panel
- Top opening width: at the top measurement line
- Bottom opening width: at the bottom measurement line
- Width difference: top minus bottom, or bottom minus top
- Lean direction: left wall in, right wall out, or both
This is the part a generic article gets wrong. It stops at “measure the opening” and skips the angle. A custom glass fabricator needs both the 3-point width measurement and the direction of the lean. Without that, the panel may fit at one end and fight the wall at the other.
If the wall is only slightly off, a standard hinge or panel can sometimes absorb the difference. If the lean is larger, the panel may need a tapered cut so the glass edge follows the wall line. That is normal fabrication, not a special favor.
Use a wall clamp, straight edge, and mark the runout
Because tile, grout joints, and a bowed wall can hide the problem, a wall clamp and a straight edge help you show the wall’s true face, which makes the runout easier to read and document.
Set a straight edge or long level against the wall and hold it with a wall clamp if needed. Look for gaps at the top, middle, and bottom. Those gaps tell you where the wall stands proud or falls away. A pencil mark at each gap can help you track the curve.
Then write down the runout in plain language:
- “Left wall leans in at top”
- “Right wall bows out at center”
- “Threshold is wider than the header by ___”
That wording saves time when you talk to the glass shop. It also keeps the order from becoming a guessing game. You can hand the numbers to the fabricator and let them decide whether the panel needs a scribe edge, a taper, or a different hinge layout.
A wall clamp is not magic, and it won’t fix a bad wall. It does help you keep the straight edge in place while you read the surface. On a tile wall with uneven grout lines, that’s the difference between a useful reading and a sloppy one.
What a fabricator needs from your measurements
A fabricator needs the three widths, the wall direction, the height, and any obvious obstructions near the opening. That is the full set that lets the shop match the glass to the opening instead of forcing the opening to match the glass.
Hand over these details together:
- Top, middle, and bottom width
- Height of the glass area
- Which wall is out of plumb
- Whether the lean is consistent
- Any curb, pony wall, tile return, or hinge obstruction
- Whether the panel needs a taper or only clearance
If you leave out the wall angle, the shop may build to the average width and miss the tight spot. If you leave out the tight spot, the panel may fit on paper and bind on site. That costs time and often means a remake.
This is where a lot of DIY measurement sheets fall short. They ask for a width and height, then stop. That works for a square opening. It does not work for a shower opening with a lean. A custom door is still custom. It just needs better numbers.
If the opening is very uneven, the fabricator may ask for a sketch. Draw the opening in simple lines and label each measurement where it belongs. No art class needed. Just make the numbers readable.
Common mistakes that ruin a glass order
The most common mistake is measuring only one width and calling it good. That can turn a door that should fit into one that binds at the jamb or leaves an ugly gap. Another mistake is measuring from tile edges that are not level with each other.
Here’s what that costs:
- Wrong width at the hinge side can stop the door from closing cleanly.
- A missed taper can leave the panel pinched at one end.
- A bad height call can make the glass hit the header or float too high.
Do this instead:
- Measure at three heights every time.
- Check both walls with a level.
- Record the lean direction.
- Note the finished surface, not the rough wall behind it.
- Send the full set of measurements, not a single number.
A second mistake is assuming a crooked wall means the job is impossible. It usually doesn’t. It means the glass needs to be cut for the opening instead of treated like a rectangle in a perfect frame. That is normal in shower work. It just takes careful measuring.
On the flip side, don’t force a fixed-size panel into a bad opening because it is “close enough.” Close enough is how glass gets chipped during install.
When the wall is too far out for a simple fit
When a wall drifts too much, the glass may need a different panel shape or a different enclosure plan, because the glass has to match the opening it gets, not the opening you hoped for. That is where a custom shower door shop earns its keep.
If the width changes sharply from top to bottom, a simple rectangle may not work cleanly. A tapered panel can solve many of those cases. If the wall is bowed, a scribe edge or adjustment in the framing may be a better fix. The decision depends on the size and direction of the variance, not on wishful thinking.
This is also where a plain spirit level and a laser level help together. The spirit level shows local plumb. The laser can show whether the whole face drifts over the full shower opening. If the wall shape changes over 6 feet of height, the glass layout needs that information.
For a broader install plan, the shower door replacement guide on this site covers the next step after measurement. This page is the measurement piece only.
Not every opening is a candidate for a stock-sized door. If the wall leans enough that the three-point span changes a lot, custom glass is the right lane.
How much out of plumb can a shower wall be for glass doors?
A shower wall can be out of plumb and still take a custom glass door, but the amount matters because the glass must be cut to the actual opening. The three-point measurements tell you whether the variance is minor enough for normal adjustment or large enough to need a tapered panel. If the wall changes a lot from top to bottom, a fabricator needs the full measurement set before ordering.
Can you put a glass shower door on a crooked wall?
Yes, a glass shower door can often go on a crooked wall if the door is measured for that wall’s shape. The key is to capture the top, middle, and bottom widths and note the wall angle before the glass is ordered. If the opening is too uneven for a standard layout, the panel may need a taper or a different hardware plan.
Drafted with AI; not yet reviewed by a person.


-
-
-
-
-
Show Comments[…] How to Measure Out-of-Plumb Shower Walls for Custom Glass Shower Doors […]
[…] slide a new sweep onto a glass shower door by cleaning the edge, lining up the channel, and pressing it on from one end instead of trying […]
[…] How to Measure Out-of-Plumb Shower Walls for Custom Glass Shower Doors […]
[…] looks best?” but “What can the walls handle without extra repair?” The frame helps with shower glass water containment too. In many layouts, the metal perimeter and track do more to hold spray where […]
[…] How to Measure Out-of-Plumb Shower Walls for Custom Glass Shower Doors […]