
Last updated: November 13, 2026
Key Takeaways
- A worn shower door sweep is the easiest fix when water leaks from the bottom, not the wall joints or frame corners.
- Measure glass thickness, edge shape, and the bottom gap before buying a new sweep.
- Clean the glass first; then a little soap or silicone-safe lubricant can help the seal slide on.
- A vinyl drip rail sends water back into the shower, while a plain sweep mainly blocks the opening.
A shower door sweep that’s cracked, shrunken, or clogged with mineral crust will leak water under the door.
Replace the sweep and drip rail, don’t just keep resealing around them.
The steps below show how to match the right edge profile, remove the old parts, and slide on a new seal without tearing the tempered glass bottom edge.
Replace the shower door sweep before the leak spreads
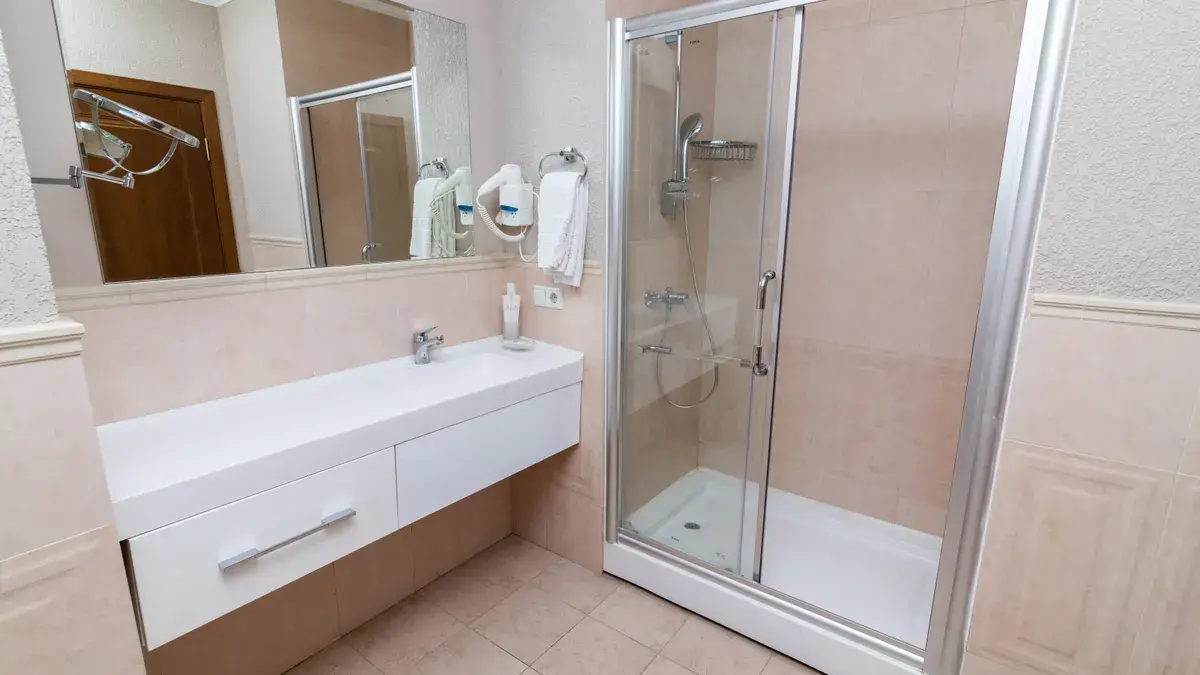
A worn shower door sweep is the simplest fix when water is slipping out at the bottom of the door, not from the wall joints or the frame corners. If the door still hangs straight and the gap under the glass looks even, a new sweep or drip rail usually solves the problem fast.
Picture this: you step out of the shower and find a thin stream on the floor, but the frame looks fine. You wipe the threshold, close the door again, and the water still creeps through the same low spot. That usually means the bottom seal has hardened, shrunk, or pulled away from the tempered glass bottom edge.
The real question is which part you need to replace. On many doors, the soft vinyl sweep does the sealing. On others, a polycarbonate drip rail collects water and kicks it back inside. Framed doors may use a framed glass bottom vinyl seal that clips into a metal channel. The wrong part won’t sit flat, and the leak will stay.
Look closely at three clues:
- A soft blade hanging from the bottom of the door points to a sweep.
- A rigid plastic strip with a water-return lip points to a drip rail.
- A metal-framed door with a vinyl insert usually needs a bottom seal made for that frame profile.
If you’re dealing with mildew build up plus a brittle seal, replace the strip instead of cleaning it forever. Once vinyl loses shape, scrubbing won’t bring back its edge. It will keep letting water through.
What you need to identify first
Before you buy anything, check four things on the door:
- Glass thickness if it’s frameless, since sweeps come in different channel widths.
- The profile shape of the bottom edge — flat, round, or star-style edges take different channels.
- Whether the door is frameless or framed, because the attachment method changes.
- The visible gap under the door, because a sweep that’s too long drags and one that’s too short leaks.
That last part matters more than most people think. A seal that barely touches the threshold will leak even if it looks new. A seal that binds hard against the floor will tear in a few weeks.
Fit clues that save a second trip
- If the old piece slides off a clear track, the new one should be a matching channel style.
- If it wraps around glass and has a fin plus a drip lip, compare the fin height and channel width.
- If the door has a metal bottom rail, look for a seal designed for that rail, not bare glass.
When the leak is not from the bottom
A bottom sweep won’t fix water that escapes through the hinge side, the wall jamb, or a cracked caulk line. If the leak starts higher and runs down, replacing the seal won’t help. That’s a different problem.
How do you know what size shower door sweep to buy?
You know what size shower door sweep to buy by measuring the glass thickness, the bottom edge shape, and the gap under the door before you shop. That prevents the common mistake of buying a strip that looks close but may not grip the glass, so consult a professional if you are unsure and use the manufacturer’s fit guidance when available.
You can compare the old strip with the new one before you leave the store. A sweep only works when the channel fits the glass and the blade reaches the threshold without bunching.
Start with the old strip if you still have it. Measure the width of the clip or channel, then compare it to the glass edge. On a frameless door, the seal must match the glass thickness and the edge profile. On a framed door, the insert must fit the metal track, not just the glass.
Use a tape measure and a ruler. If the old piece is stretched, compare the opening at the middle, not the curled ends. A worn seal can lie to you.
The measurements that matter
- Glass thickness for frameless doors.
- Channel width of the old sweep or insert.
- Gap height from the threshold to the bottom of the seal.
- Edge profile: flat, round, or star-style.
If the bottom edge is a tempered glass bottom edge with a round or star profile, choose a sweep made for that shape. A flat channel on the wrong edge can slide off, twist, or leave a water path.
Too tight, and the strip won’t slide on. Too loose, and it creeps sideways every time the door opens.
Buy the part by the door, not by the brand
Brand names matter less than the fit. One shower system may use a rigid vinyl drip rail, while another uses a soft clear sweep with a bulb seal. If the package does not state the glass thickness or profile type, keep looking.
The common sizing mistakes
- Buying by door width instead of glass thickness.
- Ignoring the edge shape and only checking the seal length.
- Choosing a sweep with a blade that is too tall for the threshold.
- Forcing a universal part onto a tight edge and splitting the channel.
If the old seal is missing, bring a photo of the bottom edge and the frame to the store. That picture is often more useful than a guess.
How do you slide a new sweep onto a glass shower door?
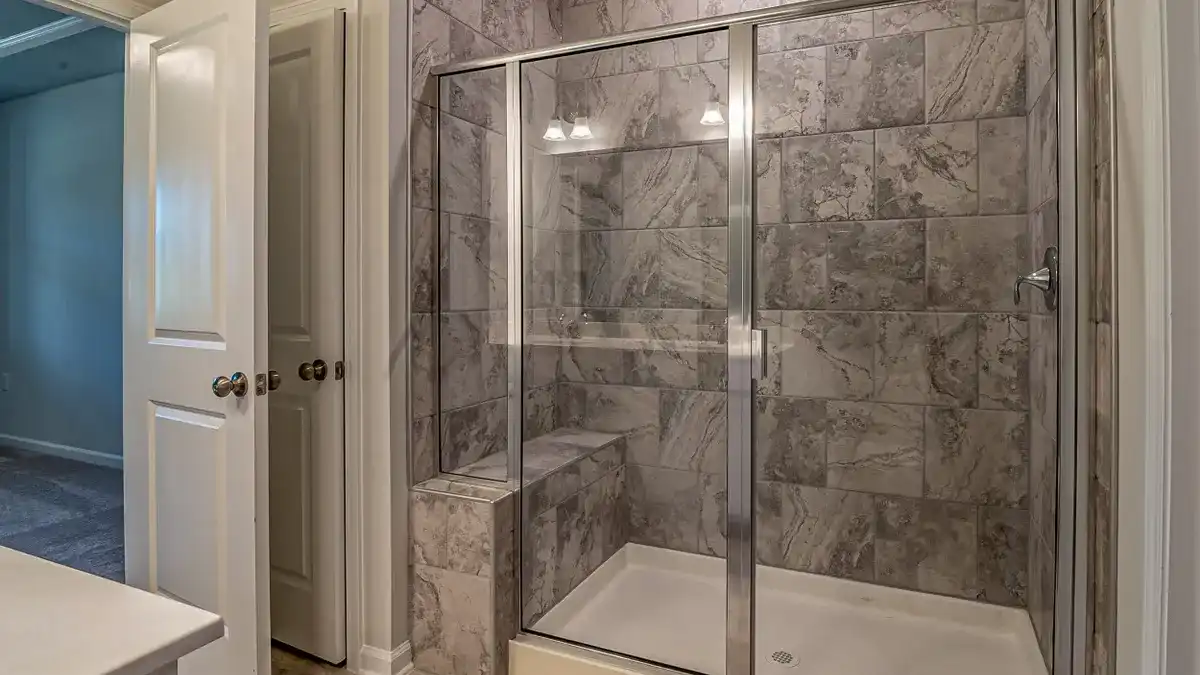
You slide a new sweep onto a glass shower door by cleaning the edge, lining up the channel, and pressing it on from one end instead of trying to snap it in the middle. A little soap or silicone-safe lubricant can help, but the glass must be clean first.
You may need to cut the new strip to length before it goes on. That matters because a seal that is too long will bind, and one that is too short will leak.
Start by removing the old part. Most sweeps pull straight off the bottom edge, though some snap from the side or slide out of a track. If it’s stuck, work a plastic putty knife under the channel. Don’t gouge the glass.
Then clean the edge. Use warm water and a non-scratch pad to remove mildew build up and mineral scale. Dry the bottom edge fully before the new seal goes on. A damp edge makes the channel grab unevenly.
Now work the new piece on from one end, not the center. That gives the channel a straight path and lowers the chance of tearing the lip.
The core procedure
- Cut the new strip to length with sharp snips or a utility knife, leaving a clean square end.
- Clean the glass edge with warm water, then dry it so the channel can grip.
- Start at one corner and align the channel with the glass edge.
- Press or tap the seal on gradually along the full length, keeping it square to the glass.
- Trim the excess only after the seal is fully seated and the door closes normally.
A small amount of silicone-safe lubricant can help on a tight polycarbonate sweep snap fit, but use it sparingly. Too much lubricant makes the strip slide around before it grabs.
What a good fit feels like
The seal should sit flush without twisting. The blade should touch the threshold lightly, not fold hard under the door. If it folds, the strip is too tall or the door is hanging too low.
If the piece won’t slide past one end, stop and check the profile again. A frameless seal for flat glass won’t cooperate on a rounded or star-style edge.
When to stop and recheck
- The strip bows away from the glass.
- The door won’t close without dragging.
- Water still exits from the same low corner after the new seal is on.
That usually means the part is wrong, not the install.
What a drip rail does that a plain sweep cannot
A vinyl drip rail redirects water back into the shower after it hits the bottom of the door, while a plain sweep mainly blocks the opening. That matters on doors where water collects on the outside face before it reaches the threshold.
Picture this: the bottom seal looks fine, but water still runs down the outside of the glass and drips onto the floor at the hinge side. That’s a classic job for a drip rail. It catches the runoff and sends it back inward instead of letting it bead over the edge.
A drip rail is not the same as a soft blade. It has a built-in lip or fin that acts like a gutter. On some systems, the rail works with a bottom sweep. On others, the rail is the whole fix.
The choice depends on the door design. A frameless door often uses a clear or translucent strip that snaps onto the bottom edge. A framed door may use a track insert under the metal rail. Either way, the goal is the same: stop the water from following the glass face to the outside.
Signs you need a drip rail
- Water beads on the outside face of the door.
- The floor gets wet even when the bottom gap is small.
- The old strip has a rigid return lip that has cracked off.
- The door is a frameless panel with a clear bottom accessory.
If the old rail has gone cloudy, split, or curled, replace it. A damaged lip cannot push water back inside.
The trade-off
A drip rail can look cleaner than a tall sweep, but it depends on the door staying aligned. If the door sags, the rail may scrape the threshold or leave a low corner open. That is why alignment matters before you blame the seal.
Better fit, better result
- Framed doors: often do best with a bottom vinyl insert made for the frame groove.
- Frameless doors: often do best with a clear snap-on sweep or rail.
- Heavy splash patterns: may need a rail plus a sweep, not one or the other.
If your shower has a strong spray aimed at the door, a plain seal may be too weak by itself.
Common mistakes that keep the leak alive
The most common mistake is replacing the seal without clearing the track or checking door alignment, and that usually wastes the new part. A clean, correctly sized seal cannot fix a door that sits crooked or a bottom rail packed with crust.
Picture this: the new strip is on, but the leak returns the next morning. The culprit is often hidden under the bottom edge — mineral buildup, a warped insert, or a door that no longer closes square. That’s why a quick install sometimes fails.
Here’s what goes wrong most often:
-
Installing over scale
Cost: the seal sits unevenly and leaks through tiny gaps.
Do this instead: scrape off hardened residue first, then wipe the edge dry. -
Using the wrong profile
Cost: the channel slips off or twists open after a few uses.
Do this instead: match the glass thickness and edge shape, not just the length. -
Cutting too short
Cost: water escapes from the ends, where the seal no longer reaches.
Do this instead: fit the full length first, then trim carefully. -
Forcing a rigid piece onto a tight edge
Cost: the channel can split or leave the glass unevenly gripped.
Do this instead: warm the strip slightly in room-temperature conditions and slide it on straight. -
Ignoring door alignment
Cost: the bottom seal wears out fast and drags on one side.
Do this instead: check hinges, rollers, or the door’s closing position before you blame the sweep.
A lot of people chase the leak with silicone around the floor edge. That hides the symptom and leaves the bad seal in place. On a shower door, the bottom accessory is meant to be replaceable. Use that design.
The clean-up that makes the next seal last longer
Keep the threshold clean with warm water and a soft cloth. If hard-water crust returns, a non-abrasive cleaner is safer than a metal scraper. A clean edge lets the new sweep stay put.
What to do if the new seal still leaks
If the new seal still leaks, check the door gap, the bottom edge shape, and the frame before buying a third part. A lot of “bad seals” are really crooked doors, wrong profiles, or an old track that won’t hold the insert evenly.
Picture this: you did the install, the strip looks straight, and water still slips past the corner. That’s frustrating, but it tells you something useful. The leak is likely not in the middle of the door.
Start with the closing test. Shut the door slowly and look at the bottom edge in the light. If one side touches before the other, the door may be out of plumb. If the seal lifts at one end, the strip may be the wrong profile or too short.
Then check the hardware around it. A loose hinge, a sagging framed panel, or a bent bottom rail can open a gap no seal can fill. If the door itself is off, a better seal only masks the problem for a while.
Simple checks before you replace again
- Look for a daylight gap at the bottom corner.
- Compare the old and new parts side by side.
- Check whether the rail sits flat along the full width.
- Inspect the threshold for chips or old adhesive.
If the door is framed and the vinyl insert is trapped in a metal channel, the channel itself may be bent or packed with corrosion. A new framed glass bottom vinyl seal won’t fit right in a damaged track.
If this is part of a larger shower project, the hub page on shower door replacement guide can help you place this fix in the full enclosure sequence without mixing it up with other repairs.
Drafted with AI; not yet reviewed by a person.

[…] this: you want the shower to stop going hot when another fixture opens, but you do not need a high-end mixing setup. A […]