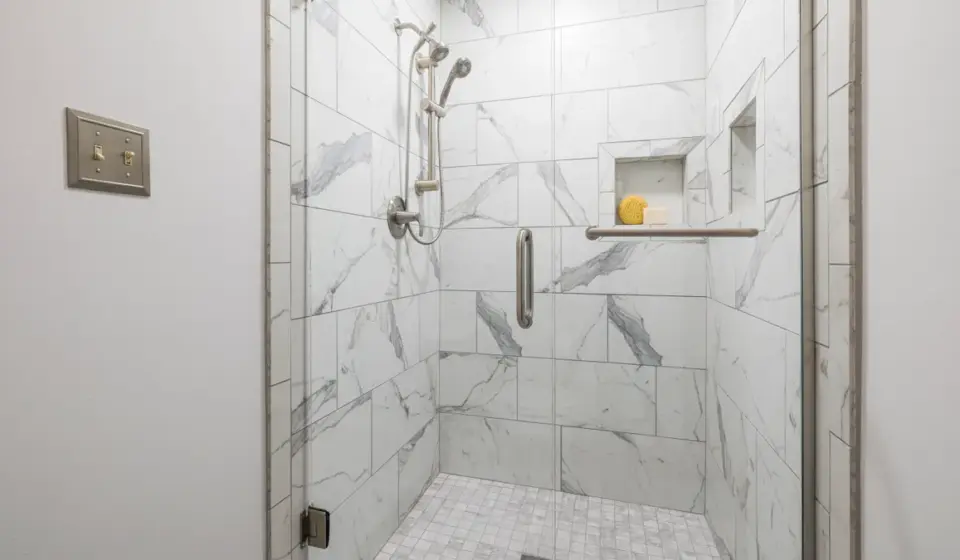
Connecting an Off-Center Shower Drain During Shower Base Replacement

Last updated: November 14, 2026
An off-center shower drain during shower base replacement is fixable with an offset drain fitting or a short 45-degree street elbow run, as long as the drain still meets the new base’s strainer body and the joists give you enough clearance. This guide on Connecting an Off-Center Drain During Shower Base Replacement shows which connection works, which one fights you, and where a rubber gasket or no-caulk drain belongs.
Quick answer: for a drain that is off by 2 or 3 inches, the usual fix is a short offset under the subfloor, not a full reroute. The steps below settle the real question: how to move the drain a few inches without cutting into a main joist or building a sloppy trap connection.
Key Takeaways
- Off-center drains are usually solved with a short offset, not a full redesign.
- A no-caulk shower drain can make the top-side connection easier, but it does not fix bad pipe layout below.
- A sanitary tee belongs in the waste line where code and layout call for it; it is not a substitute for a proper shower drain body.
- The right fix depends on joist clearance, pipe height, and how far the new base shifted.
- If the offset needs a big sideways move, a 45-degree layout is often cleaner than forcing the pipe to bend hard under the pan.
What an off-center drain means at shower base replacement
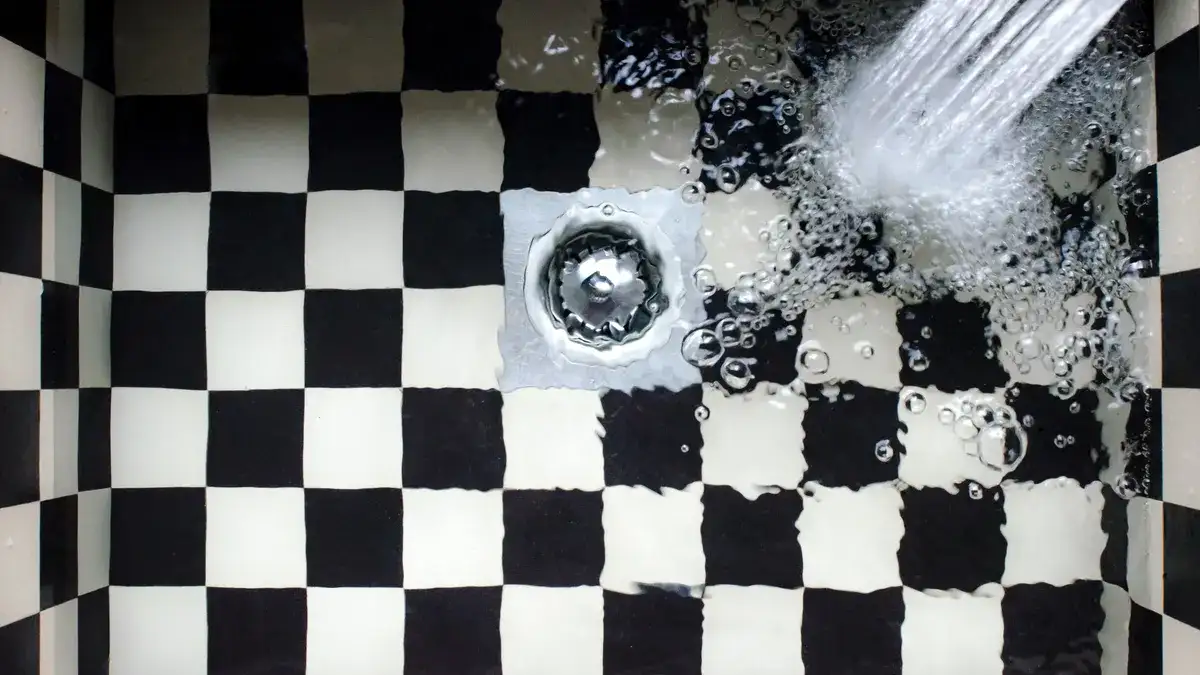
An off-center drain in a Connecting an Off-Center Drain During Shower Base Replacement project means the new shower base’s hole does not line up with the existing waste pipe, and the difference is usually only a few inches. That gap matters because the drain stack has to meet the strainer body squarely, with enough room below for the trap and enough clearance above the joists to keep the run honest.
Picture this: you’ve lifted the old pan, cleaned the subfloor, and now the new base lands 2 or 3 inches away from the pipe. That’s a common replacement problem, not a disaster, but it does change the fitting plan. If you force the base to meet the pipe without a proper offset, the drain can sit crooked, leak at the gasket, or bind against the pan underside.
The truth is, a shower base replacement is won or lost on this connection. A base that sits flat but misses the drain by a little still needs a clean path from pan to pipe. That path usually uses one of three approaches:
- an offset shower drain fitting made for this kind of adjustment
- a short series of 45-degree street elbows
- a new trap or branch layout if the pipe is too far off
Do not start by cutting the new base.
That’s the expensive mistake.
If the drain is only slightly off, the pipe can often be nudged over under the pan. If the offset is larger, the real issue is not the drain cover at all — it is the waste line below the subfloor and whether the joists leave enough room to reroute it.
Which offset drain fitting should you use?
An offset fitting is the cleanest choice when the drain is off by a small amount and the pan manufacturer allows it. It gives you a controlled shift between the no-caulk shower drain top and the waste pipe below, which is easier to seal than a stack of random parts.
Picture this: you have 1 or 2 inches to recover and a standard acrylic base with a molded drain opening. A proper offset fitting can keep the connection compact, while the finish flange still seats correctly at the top. That matters because the drain has to clamp or gasket to the pan without stressing the shell.
There are two common ways this gets done:
-
Offset shower drain fitting
This is the right answer when the new base is close to the old pipe and you want one engineered piece instead of a patchwork. It saves vertical space and usually keeps the trap arm simpler. -
45-degree street elbows
These work when the pipe needs to slide sideways in a short run and the joists give you room for the change in direction. Two 45s can create a gentle offset without the abrupt turn that a hard 90 can cause.
The trade-off is simple. A factory offset fitting is neater, but it may not solve a larger misalignment. The 45-degree route is more flexible, but it takes more dry-fitting and can eat up headroom fast.
Use the fitting that matches the actual offset, not the one that looks easiest in the box. A 3-inch or 4-inch waste run with a few inches of lateral shift can behave very differently depending on where the trap sits and how high the pipe exits the subfloor.
Common choices at a glance
| Option | Best when | What it gives you | Main drawback |
|---|---|---|---|
| Offset drain fitting | Small, planned misalignment | Tight top-side alignment | Limited range |
| 45-degree street elbows | Short lateral move under the floor | Flexible routing around framing | Uses space fast |
| New branch rework | Bigger offset or bad trap location | Cleanest final layout | More labor and more opening work |
How do you move a shower drain over a few inches?
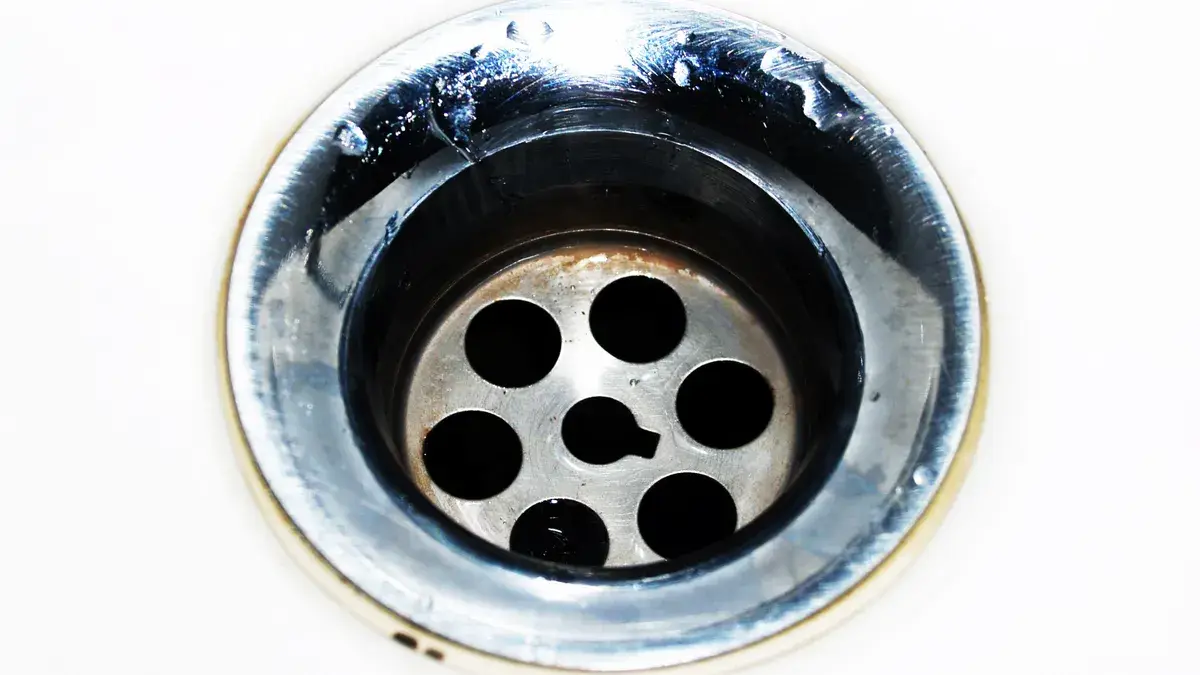
You move a shower drain over a few inches by dry-fitting the new base, marking the centerline, and building a short offset under the subfloor before the pan goes down. The goal of Connecting an Off-Center Drain During Shower Base Replacement is a straight, supported connection from the strainer body to the waste pipe, not a twisted joint that depends on force.
Picture this: the new base is upside down on a blanket, and the drain hole is 2 inches away from the existing pipe center. That is the moment to measure everything, because once the pan is set and glued, there is very little forgiveness left. The line below the floor should be planned before you commit to cement or solvent.
Here is the basic procedure that works in the field:
- Set the new shower base in place and mark the drain center on the subfloor. Use the base itself, not your memory, because molded pans can shift the centerline a little from model to model.
- Measure the offset from the existing pipe to the new center. If the move is only a few inches, a pair of 45-degree fittings or an offset drain fitting may fit without opening more framing.
- Check joist clearance before cutting anything. If the pipe would need to notch or drill a main joist in a way the framing won’t allow, stop and rework the route around the bay instead.
- Dry-fit the trap arm, elbows, and riser so the drain lands square under the hole. You want a connection that sits centered without sideways stress on the pan.
- Assemble the final joints in the order that keeps the drain plumb and supported. The base should sit flat, and the drain should drop into the opening without needing to be forced down.
- Seat the no-caulk shower drain or gasketed top assembly according to the manufacturer’s stack-up. A rubber gasket needs clean contact surfaces, not a warped pan or a pipe that is pulling sideways.
The important part is the last step. A no-caulk drain can be a good fit for a replacement base because it uses compression and sealing parts instead of a messy top-side caulk joint alone, but it still needs the pipe centered enough that the gasket compresses evenly.
If the offset requires pushing the pipe hard against a joist, the fix is wrong.
That’s not “close enough.”
Joist clearance drain pipe: what you can and cannot change
Joist clearance governs the whole layout, because the pipe has to pass through the framing without weakening a main member or forcing a crooked slope. If the waste line can move 2 or 3 inches and still keep its fall, you’re in normal repair territory. If it needs a bigger swing, the joists decide the limit.
Picture this: you’ve got a drain that shifted toward the back wall, but the nearest joist sits right where the new line wants to run. That is not just a plumbing problem. It is a framing problem, and the fix must respect the structure as much as the base.
A few rules keep the job sane:
- Do not assume a joist bay has room just because the pan is small. A shower base can be narrow while the drain pipe still needs trap space, slope, and room for fittings.
- A 45-degree street elbow changes direction more gently than a hard 90, which helps preserve flow and makes the offset easier to hide under the pan.
- If the existing pipe sits too low or too high, the new drain body may never line up cleanly without moving the branch, not just the top fitting.
- A sanitary tee belongs where the system design calls for it, but it is not the magic answer to an off-center shower base. The right fitting depends on the vertical and horizontal layout, not on guesswork.
Here’s the catch: many bad shower replacements come from trying to “save” an impossible alignment with one extra fitting. That often costs more time than opening the floor once and rerouting the branch properly.
A clean reroute usually looks better and seals better than a crowded stack of elbows. It also gives the shower base a flat landing, which matters more than most beginners think.
Why the no-caulk shower drain matters on a replacement base
A no-caulk shower drain matters because it lets the drain connect with a rubber seal and compression parts instead of relying only on a bead of sealant at the top. On a replacement base, that can make the assembly easier to service later, and it often fits better with molded pans that already have a designed drain opening.
Picture this: you’re staring at a new base with a molded receptor and a drain hole that needs a neat, watertight stack. A no-caulk drain can help because the upper flange and gasket are made to clamp the base material, which is cleaner than forcing an improvised seal around a crooked opening.
That said, it is not a cure-all, and if the pipe layout is doubtful, consult a plumber or follow the manufacturer’s instructions for the specific drain body.
- It does not fix a pipe that is several inches off center.
- It does not rescue a base that is flexing because the subfloor is wrong.
- It does not replace proper alignment below the floor.
The best fit for a replacement base is one where the hole is close and the drain body is designed to meet it with a rubber gasket. The gasket does the sealing work only if the drain parts sit flat and the pan is supported well.
A common mistake is overtightening the drain parts to force a seal. That can deform the gasket or crack a plastic component. Another is leaving the drain off-center and hoping the compression will “pull it in.” It won’t, and the leak usually shows up after the floor is closed.
If the drain assembly includes a strainer body, inspect how it mates to the pan from above and how the lower pipe meets it from below. The top and bottom have to agree. If they fight each other, the leak risk goes up fast.
The mistakes that cost the most time
The most expensive mistakes are bad measurements, bad slope, and forcing the pipe to meet the pan at an angle. Those errors turn a one-day drain correction into a floor opening, a re-cut, and a second round of parts. A shower base replacement leaves little room for improvisation once the adhesive or solvent is on.
Picture this: you’ve already set the new base and the drain still sits 1 inch short of the pipe. It is tempting to pull the pan down harder or add one more coupler. That usually creates a worse problem, because the strain ends up in the gasket or the trap arm.
Watch for these traps:
-
Cutting the pan opening to “make it fit.”
Cost: a loose drain seal and a base that can crack around the hole.
Better move: fix the pipe layout, not the molded pan. -
Using too many fittings in a short space.
Cost: lost clearance under the base and a cluttered drain path.
Better move: use one planned offset or a cleaner reroute. -
Ignoring joist clearance.
Cost: a pipe that has to be rebuilt after the first dry fit.
Better move: check framing before you glue anything. -
Overtightening a no-caulk drain.
Cost: crushed gasket, distorted parts, or a leak that appears after the room is finished.
Better move: tighten to the manufacturer’s stack-up and stop when the parts seat evenly.
Instead of forcing the connection, slow down and rework the waste line if the drain is more than a small offset from the new base. Not every shower base replacement is a straight swap. Some are a small plumbing puzzle with a framing constraint attached.
What a clean final connection should look like
A clean final connection looks centered, supported, and easy to service later. The drain should pass through the shower base without side load, the pipe below should have a sensible route, and the strainer body should sit flush enough that the pan does not rock when you step near the opening.
Picture this: the pan is set, the drain assembly lines up through the hole, and the pipe below is not yanking the fitting in one direction. That is the finish you want. It is simple, but it depends on all the hidden work being right.
A good final check includes these points:
- The base sits flat on the subfloor with no wobble around the drain area.
- The drain center matches the marked opening without a visible sideways pull.
- The gasket or no-caulk parts compress evenly.
- The waste pipe is supported so the joint is not carrying the weight of the line.
- The route under the floor leaves enough room for future service without tearing out framing.
If you’re comparing an offset drain fitting with a 45-degree street elbow run, the better choice is the one that gives you the straightest path with the fewest stressed joints. In most shower base replacements, that is the connection that survives the long run, not the one that just happens to fit today.
For the broader swap process, pair this article with the main shower pan replacement guide so the drain work and the base work stay in sync.
How do you move a shower drain over a few inches?
You move a shower drain over a few inches by dry-fitting the new base, marking the centerline, and building a short offset under the subfloor before the pan goes down.
Drafted with AI; not yet reviewed by a person.

[…] sloped shower base or mortar bed that directs water to the […]
[…] also looks less mechanical than a track-based slider. With fewer visible rails, it can make the shower front read cleaner. But that clean look comes with a hard requirement: the door swing clearance has to be […]